A friend of mine and I backed a Kickstarter project for the Transporter.
The Transporter is a device that you can put on your network (or the network at your office or a friend or relative’s house) and basically create your own cloud.
We backed a two-pack of Transporters and they arrived this week.
Today, I’m going to share pictures of the unboxing. Over the next few days, I’ll talk more about how the devices and the software that goes with them work.
The box.
The transporters come in a rather large box relative to the device itself. Here are the pictures of the outside of the box:

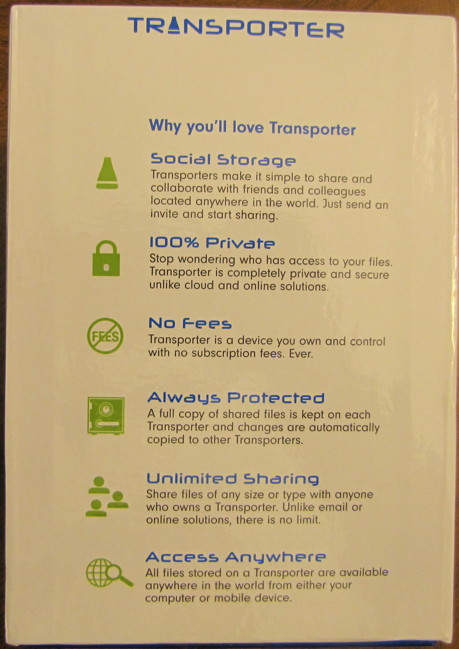
Box Front
Box Right Side
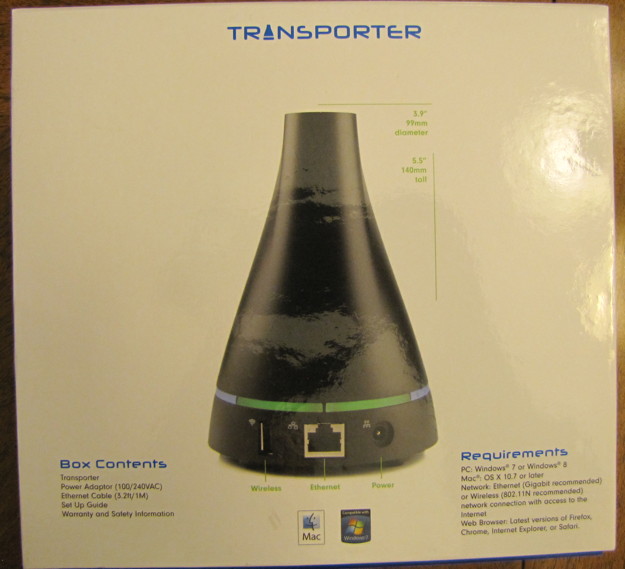
Box Back
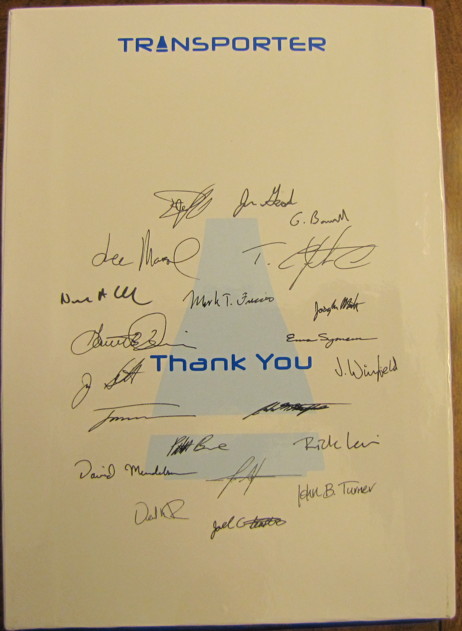
Box Left Side (With Signatures)

Box Top
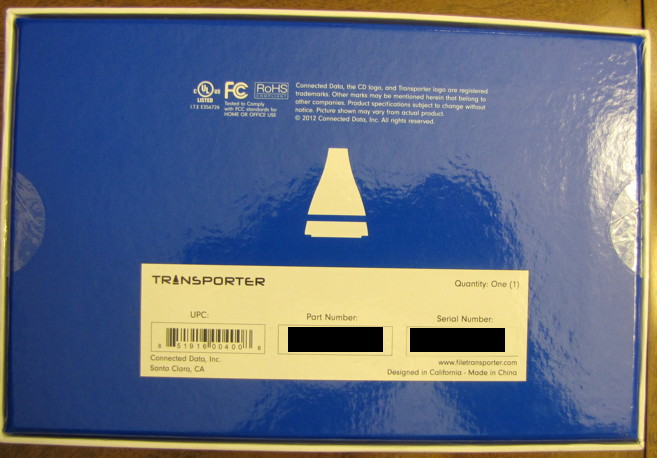
Box Bottom
One of the stickers on my box looked like it might have been removed and re-applied. It’s hard to tell, but here is a close-up of the sticker:
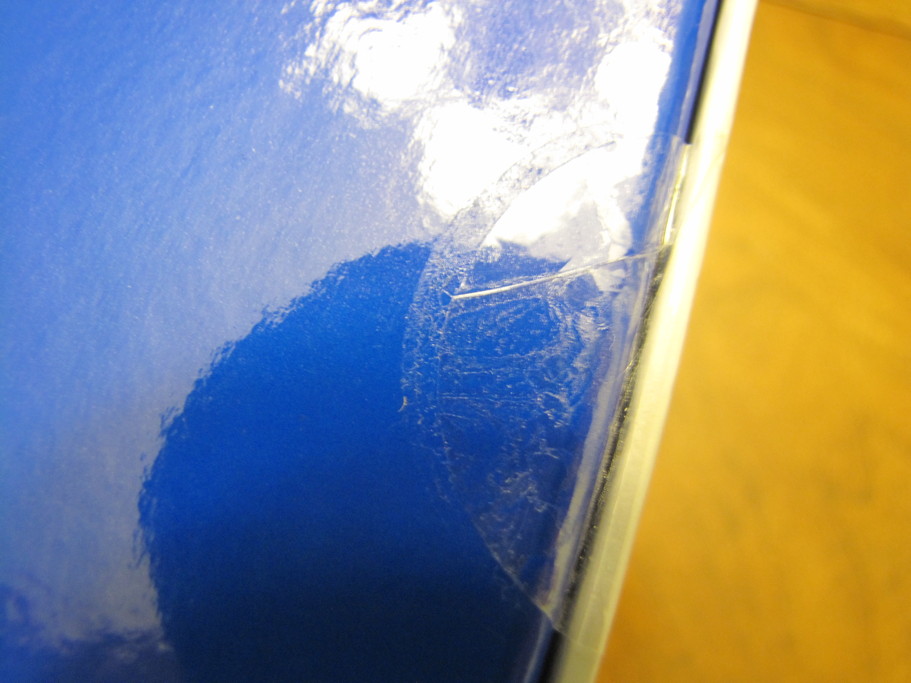
Sticker that Looked Like it Had Been Removed
After slicing through the stickers, the top of the box lifts off. The transporter sits at an angle in the box, which is why the box is so much bigger than it seems it should be.

Open Box
After removing the transporter, which was just sitting in there (the top of the box had cut outs that kept it in place), this is what the base of the box looks like:
![]()
Box with Transporter Removed
The little compartment under the pointing finger houses the power supply, an Ethernet Cable and a miniature USB Wifi adapter.
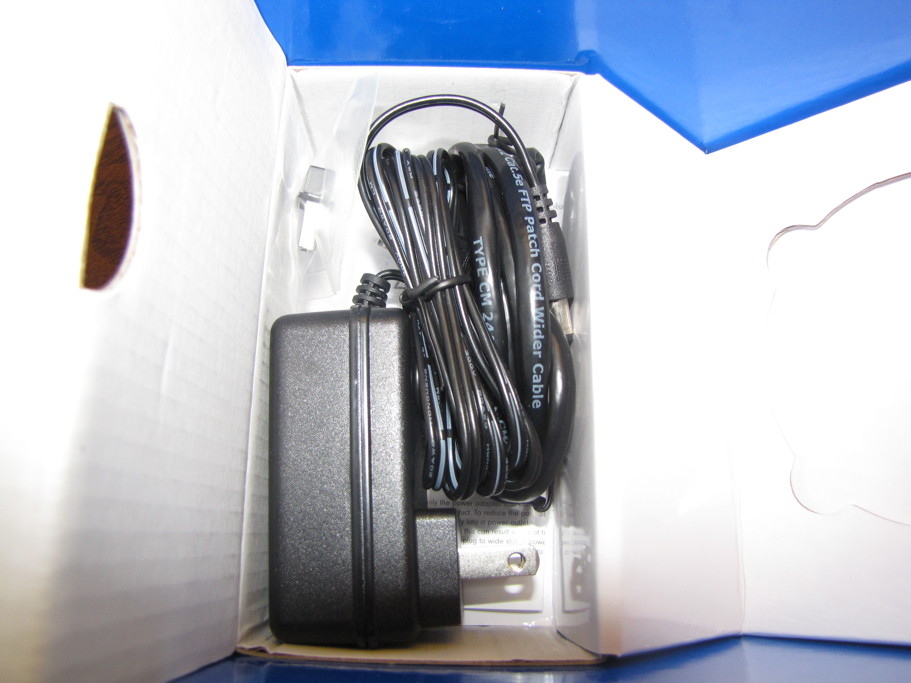
Accessories
Here is everything out of the box:
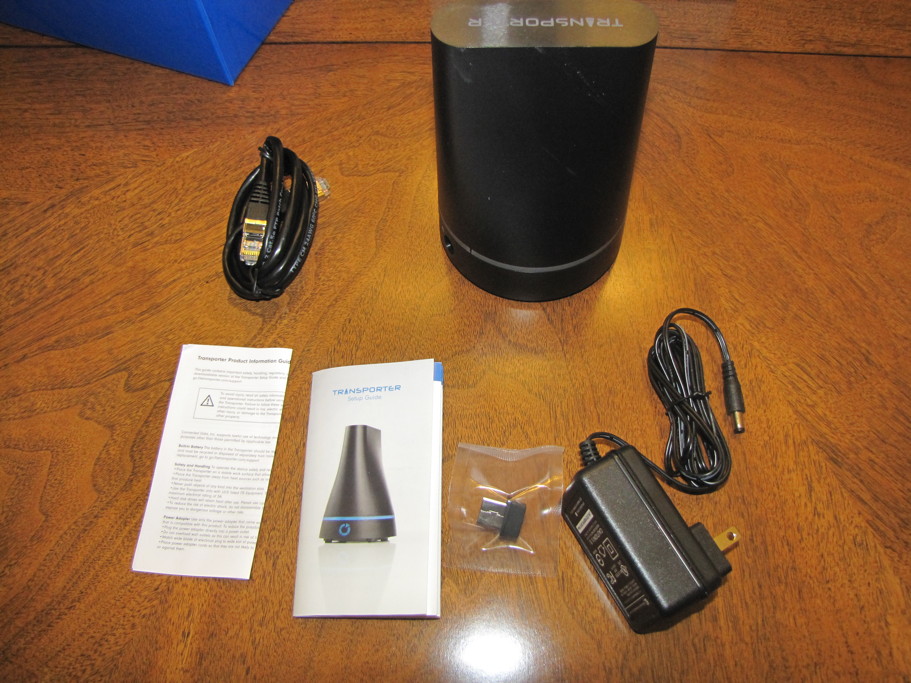
Contents
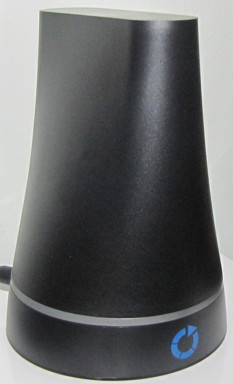
Here is the Transporter from all sides:
![]()
Top
![]()
Front
![]()
Back
![]()
Left
![]()
Right
![]()
Bottom
A slight twist of the top removes the cover to reveal the drive tray and the SATA connector.
Back (bottom) of Drive Tray
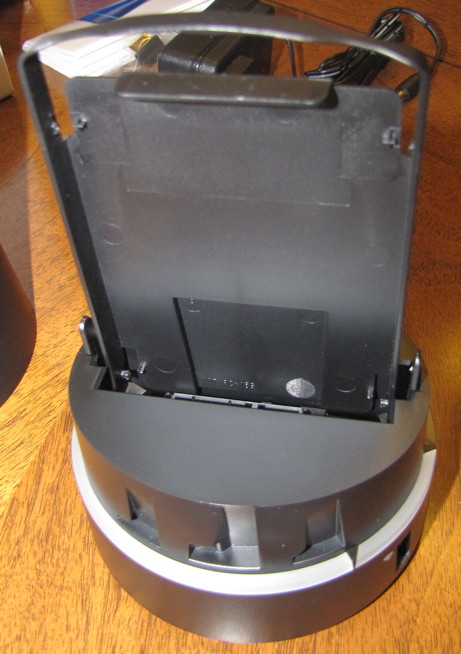
Drive Tray and SATA Connector
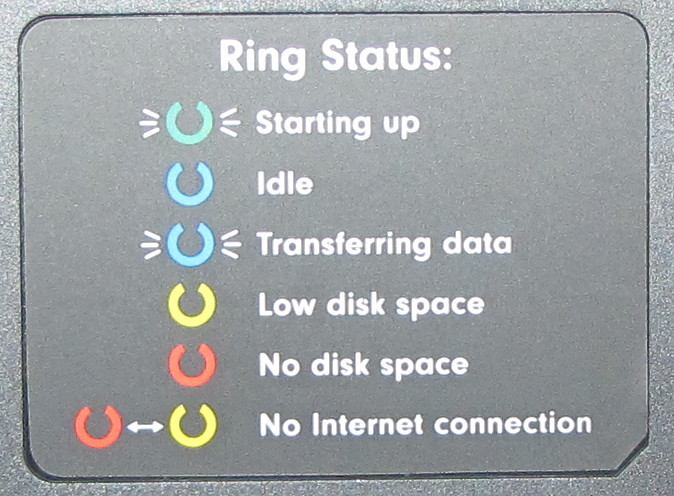
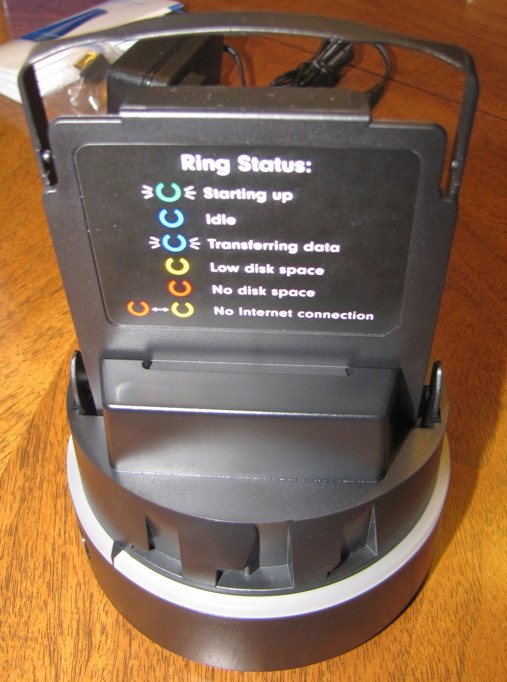
What the Colors of the Ring Mean
Squeeze the tabs and pull out the tray.
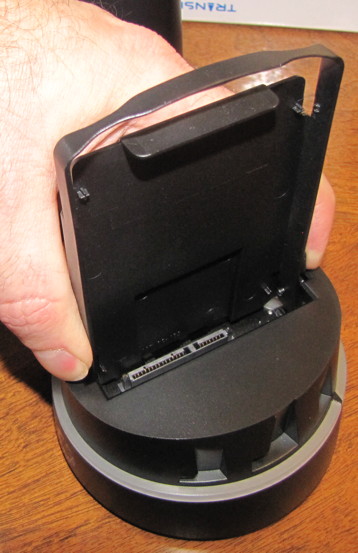
Squeeze Tabs

Remove Tray
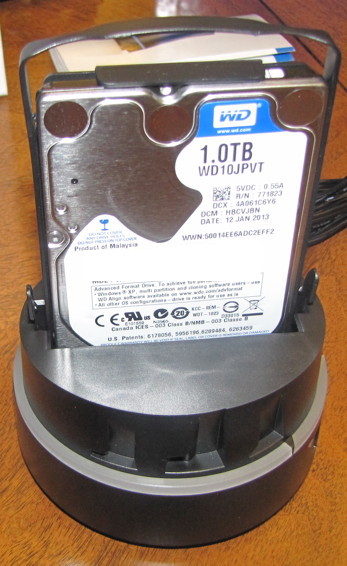
The tray has little pins that pop into where the screw would typically hold the hard drive. Just align the 2.5″ drive with the pins and insert it into the tray.

Align the Pins

All Secure
Then just insert the tray with the drive into the transporter.

Line Everything Up
All Set
The cover screws back on with a very slight twist and you are ready to hook this up and get it set up.
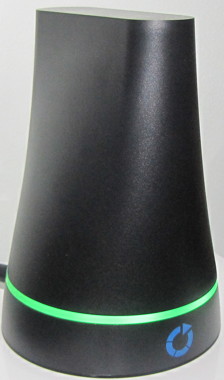
Let’s See … Flashing Green Means it is … BOOTING!
My next post will talk about setup, and I will share my initial experiences with the Transporter.

I wish they had put as much effort into the workings as they did to the design of the unit and the box. The first one I received was DOA. Amazon replaced it. I put the wireless dongle in and then read that it should go in later…when I tried to remove it, it shattered into 4 pieces! Great idea: cheesy implementation.